
Installation guide: applying anti-glare film to solar panels
With the right preparation, you can apply the Phytonics XRF anti-glare film to your solar panels bubble-free in just a few steps. Here you will find the installation video, every step to read along and answers to frequently asked questions.
- approx. 10 minutes per panel
- 2 people
- Apply in a sheltered place
- Let dry completely
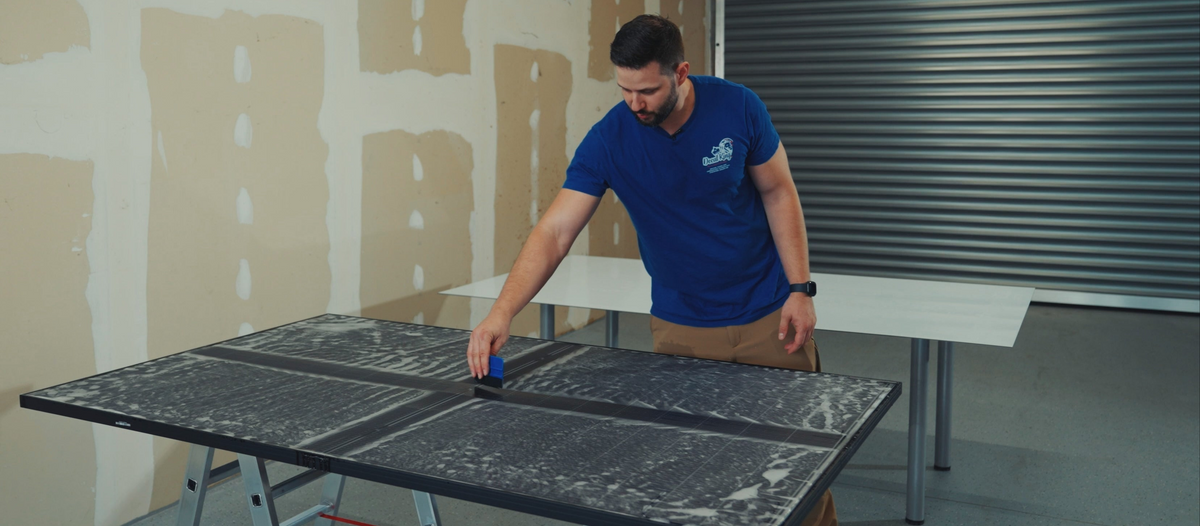
Before you start
Apply the film at a workplace protected from wind and weather, for example in a hall or garage – the panels can then dry there undisturbed.
What you need:
-
Two large, flat tables
One for the solar panel, one for preparing the film.
-
Two people
Peeling off the liner and placing the film works best with two people.
-
Narrow squeegee (approx. 10 cm)
This lets you apply enough pressure and remove the liquid efficiently.
-
Pressure sprayer
For generously spraying the film and the panel.
-
Application fluid concentrate
e.g. Applikator 2.0 (Bruxsafol GmbH), 3–5 g per litre of distilled water. Use a lower dose if the front of the panel has unstructured window glass (very rare).
-
Distilled water
As the base for the application fluid.
-
Cloth
For cleaning the panel and wiping off residual liquid.
Your panels are already installed on the roof? That is no reason not to get in touch. We recommend taking the panels down to apply the film – this is the only way to reliably ensure the conditions for a clean result. In individual cases, the film can be applied on site by experienced specialists. We will be happy to clarify together whether this is possible in your case: Get in touch.
Note for film installers and specialist companies
The XRF film is a 75 µm thin PMMA film with a microstructured surface – and behaves differently from car wrapping film: it cannot be stretched. Align it while wet and squeegee it flat from the centre outwards instead of pulling it into shape.
Also plan sufficient drying time depending on the conditions on site and avoid strong temperature changes during this time.
Step by step
Work quickly but without rushing – and always in pairs.
-
Step 1
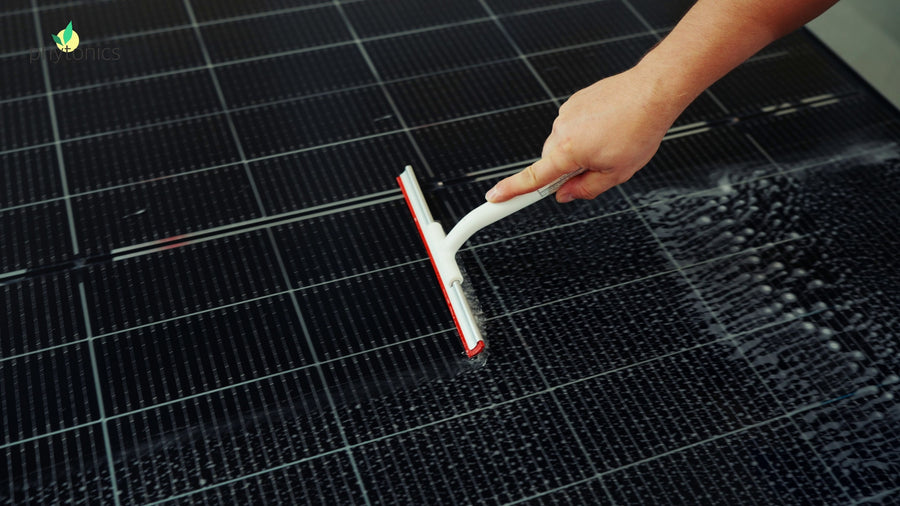
Clean the panel
Watch in video (0:43)Clean the glass surface thoroughly, e.g. with a cloth and water. Only on clean glass can the film be applied without inclusions.
-
Step 2
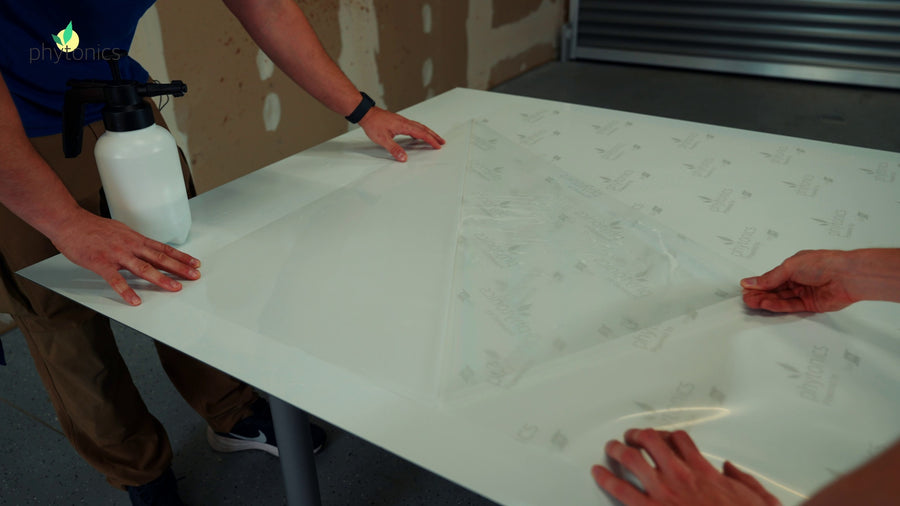
Prepare the film
Watch in video (1:22)Place the film with the rough side facing down on the second table – the Phytonics logo on the liner faces up. Peel off the liner and spray the adhesive surface with application fluid.
From now on, only touch the film with wet fingers and do not kink it.
-
Step 3
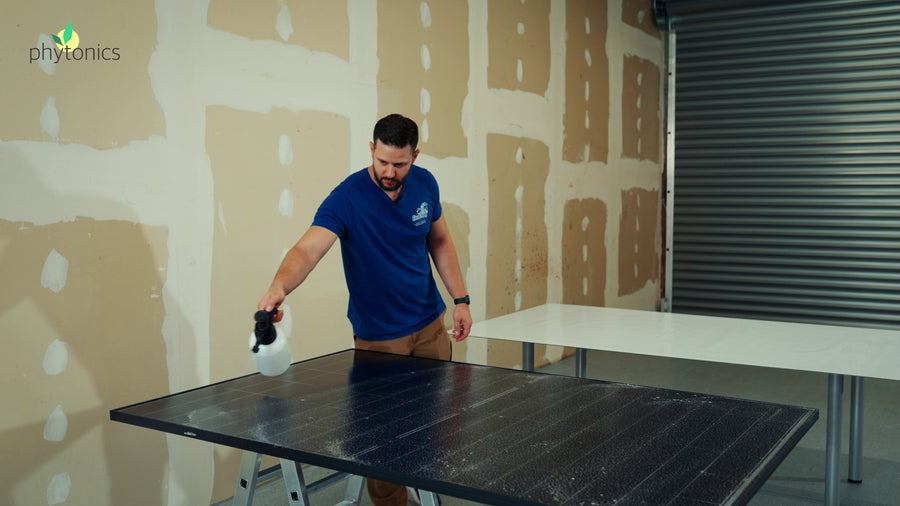
Spray the panel
Watch in video (2:00)Spray the solar panel generously with application fluid – especially in the corners.
-
Step 4
Place the film
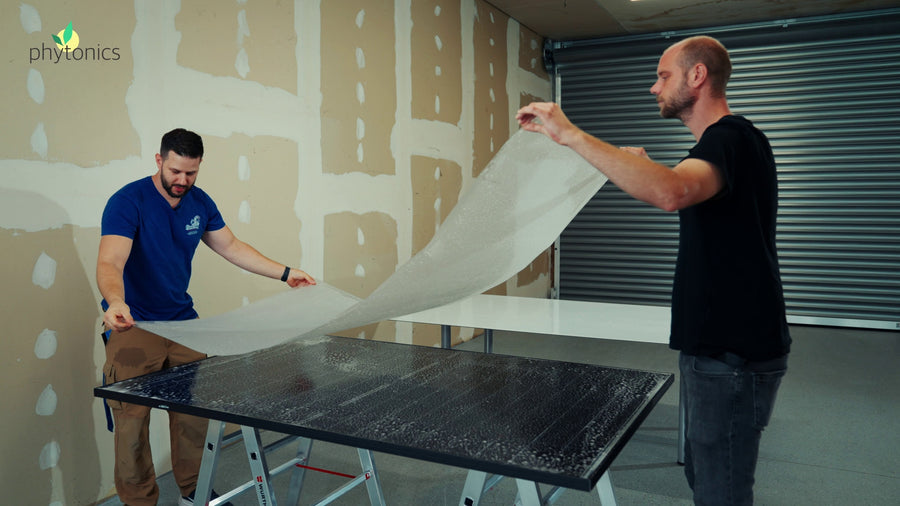
Watch in video (2:16)With two people, place the film with the wet adhesive side facing down onto the panel. There should be a gap of approx. 2–3 mm to the frame all around.
Do not press the film down with your fingers. It should float on the liquid. This way it can now be positioned easily.
-
Step 5
Fix the centre and squeegee a cross
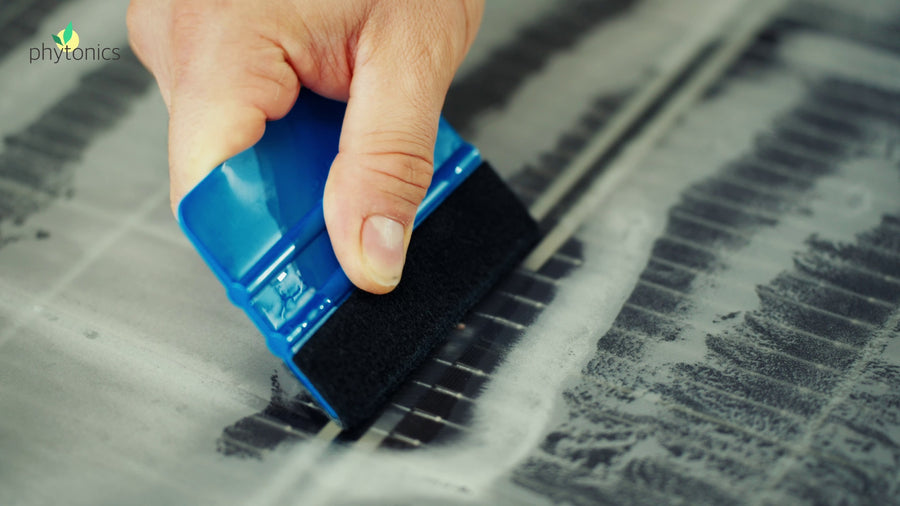
Watch in video (2:55)First squeegee a small area in the centre so that the film can no longer slip. Then squeegee a cross from the centre to the edges.
-
Step 6
Squeegee the entire surface
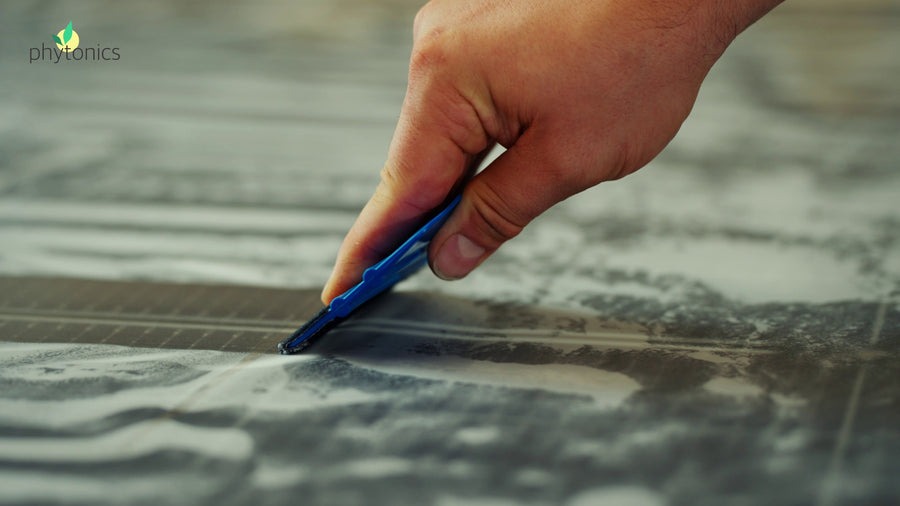
Watch in video (3:20)Always work from the centre outwards. Apply enough pressure with the very first stroke so that no air or water bubbles remain, and overlap adjacent strokes by about 50 %! Continue like this until the entire film lies flat without bubbles.
-
Step 7
Wipe off residual liquid
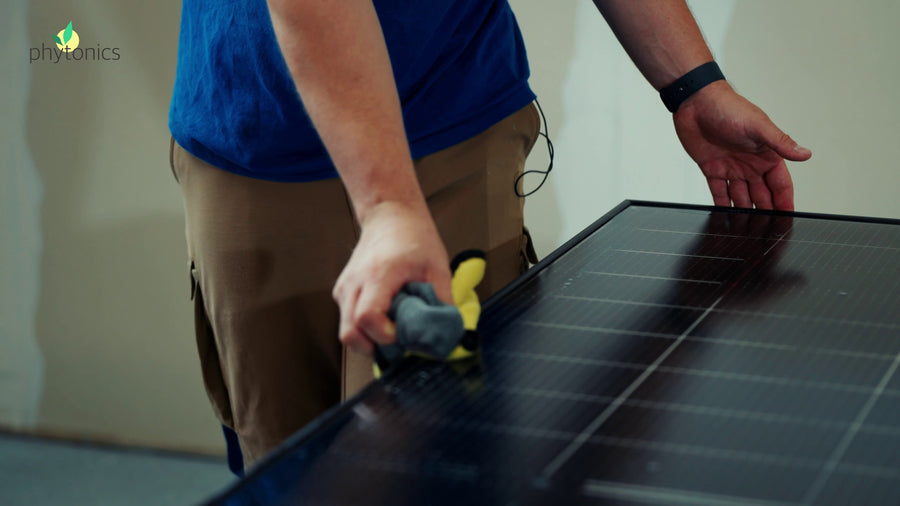
Watch in video (3:51)Thoroughly wipe off any remaining application fluid with a cloth – especially at the edges of the panel frame.
-
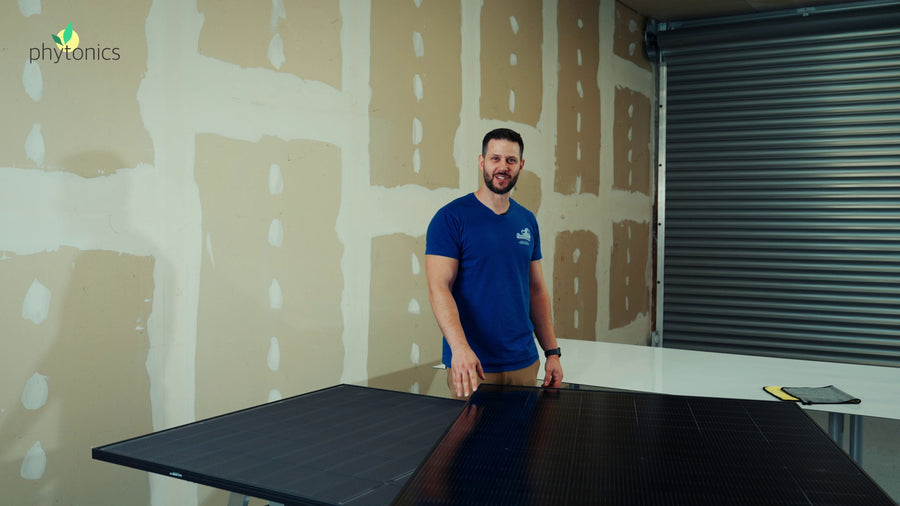
Step 8
Let it dry
Watch in video (4:00)Store the panels in a well-ventilated, sheltered place until the liquid under the film has dried completely. Avoid strong temperature changes during this time.
Only move or install the panels afterwards.
Troubleshooting & frequently asked questions
The film is crooked – what can I do?
As long as it has not yet been squeegeed down, the wet film can be peeled off and repositioned. Act quickly, as the adhesive sets fast. Once the film has been squeegeed down, it is difficult to remove it from the panel.
Why do wrinkles form after applying the film?
The cause is usually residual moisture under the film combined with rapid temperature changes – for example when freshly filmed panels are moved or installed too early. Therefore, let the panels dry completely in a well-ventilated place. This usually takes a few hours up to a maximum of one day.
There are still small bubbles under the film.
The first squeegee stroke is decisive: it must be made with sufficient pressure, always from the centre outwards and with about 50 % overlap with the previous stroke. A narrow squeegee (approx. 10 cm) makes it easier to apply enough pressure.
How long does the installation take?
Under controlled conditions, approx. 10 minutes per panel with two people.
Can the film also be applied on the roof?
We recommend taking the panels down to apply the film. In individual cases, the film can be applied on site by experienced specialists – feel free to contact us and we will clarify this individually.
Can I try the installation beforehand?
Yes. Order our sample sheets (3 × A4, self-adhesive) and practise the process on a small scale before applying the film to your panels.
Support with the installation
Installation by a partner
Don't want to apply the film yourself? Our installation partners will do it for you.
Find a partnerPractise first
With our sample sheets (3 × A4, self-adhesive), you can test the film and the process on a small scale.
Order sample sheets